Checkout Options
Customize your Checkout Process on Jumpseller.
Usually, when you add product options to a new/existing product in your Jumpseller store, you want each variant to have its own stock.
Nevertheless, in a couple of scenarios, it doesn’t make sense to have different stocks for different variants. For example, when you are selling a basic t-shirt and you add the option to choose which side to place a logo on.
If you have 10 t-shirts in stock, it doesn’t make sense to say that you have 5 t-shirts with variant front logo and 5 t-shirts with variant back logo as the logo is only set after someone chooses one of the variants and not before.
For example:
Scroll down till you see (you can also do ctrl+f and paste this snippet to find it automatically:
{% elsif option.type == 'text' %}
Below this piece of code write:
{% unless option.name == “Logo Position”%}
Logo Position was the name of the product option that we named in the example, you can change it to the product option name that you choose. So these two should look like this:
{% elsif option.type == 'text' %}
{% unless option.name == 'Logo Position'%}
After this:
<div class=”field-group”>
…
</div>
Write:
{%else%}
	{% assign custom_options = option.values.first.name | split: "," %}
	<select>
	{% for value in custom_options %}
	<option> {{value}}</option>
	{%endfor%}
	</select>

{%endunless%}
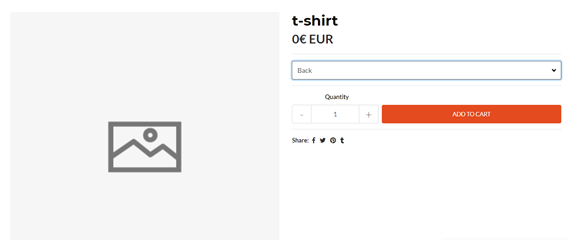
Which will show up like this:

If you have any questions regarding all of this, you may contact us any time and we will be happy to assist you.
You can also check the liquid template documentation.
Start your free 7-day trial. No credit card required.