Adding Order Pickup Points
In this article, we take you through the process of adding Pickup Points to your Jumpseller store.
Important: In order to utilize the Mobile App, please make sure your online store is using the checkout version “V2”.
The Jumpseller Mobile App currently supports the following actions:
Manage orders from your online store.
Receive notifications and see all orders and corresponding details in one place.
Browse, filter or edit order history.
Update payment and shipment status.
Route navigation and GPS tracking of carriers.
Advanced status options about order delivery progress.
Filter and order shipping according to distance, weight and other characteristics.
Add/create customers.
Create products.
Create orders with the POS feature.
With the Jumpseller Mobile App, merchants can enable GPS tracking and Route Navigation for orders being delivered by couriers. It’s available for the shipping methods: Free, Table Rates and Flat rates.
Activating the courier delivery option, allows the merchant to select the default “estimated delivery time” for that method. This time will be calculated when a courier picks up an order and it will be displayed on the checkout success page to the client.
Example: delivery time is 60 mins and the courier picks up the order at 3 PM, the estimated delivery time that will be displayed to the client is 4 PM.
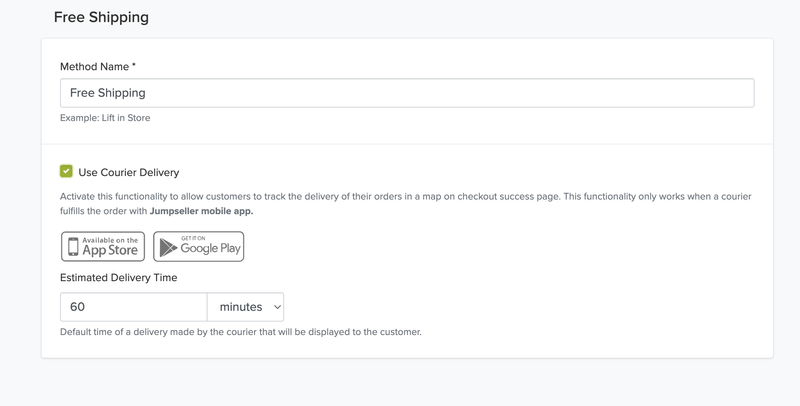
When a shipping method has the courier delivery option enabled the buyer will see an indication for that shipping method during the checkout process, if the inserted address is a valid one (could fetch coordinates).
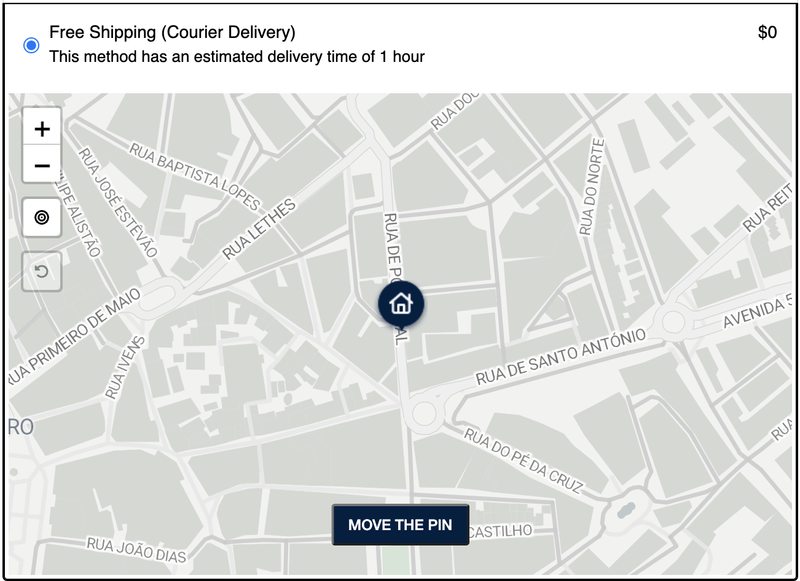
The client is also presented with a map to make a small adjustment to the location shown. The corrected coordinates will be used only for indication purposes and not to change the address where the courier will deliver the order.
The client can track the order delivery on the success screen at the end of the checkout process.
A red line in a map will let the client know the courier’s route while he is making the delivery and it’s also possible to see a log with the delivery status and courier messages.
The map and the messages that are shown at the checkout success screen look like the following example:

The buyer will also get an email notification with a button to Track Order by redirecting them to the checkout page. This button can be used by clients to re-open the checkout success screen if they have closed it.

Note: If the merchant has made changes to the order_paid email then he should contact our support and ask to add the Track Delivery button to that email.
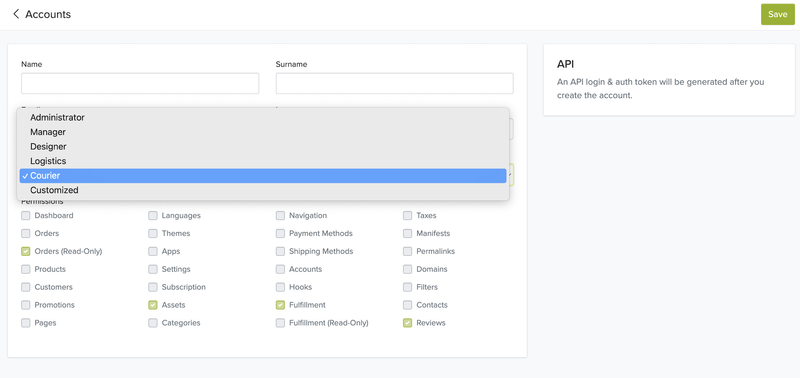
Before a courier can access and use the mobile app, you will in to grant them access to it. To make it simpler, we have added a Courier role on the accounts section inside your admin panel:
As an order is created, the merchant can mark it as “in preparation” or “ready for pick up”. When an order becomes “ready for pickup” it will appear on the courier’s app inside the orders list for him to deliver.
Navigating to the Shipping section on the mobile app, the courier can see the list of orders ready for delivery.


The selected orders will be added to the Delivery List of the courier.
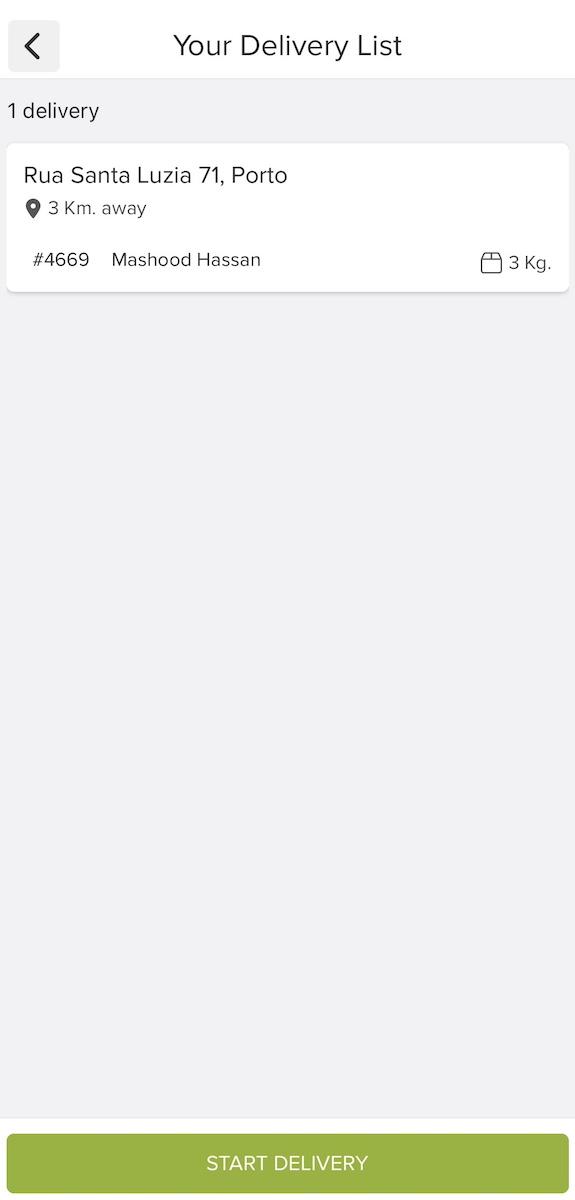
The buyer will be notified once the delivery is started. Both the merchant and the buyer can track the courier on the map.

The live map will look similar to the example below.

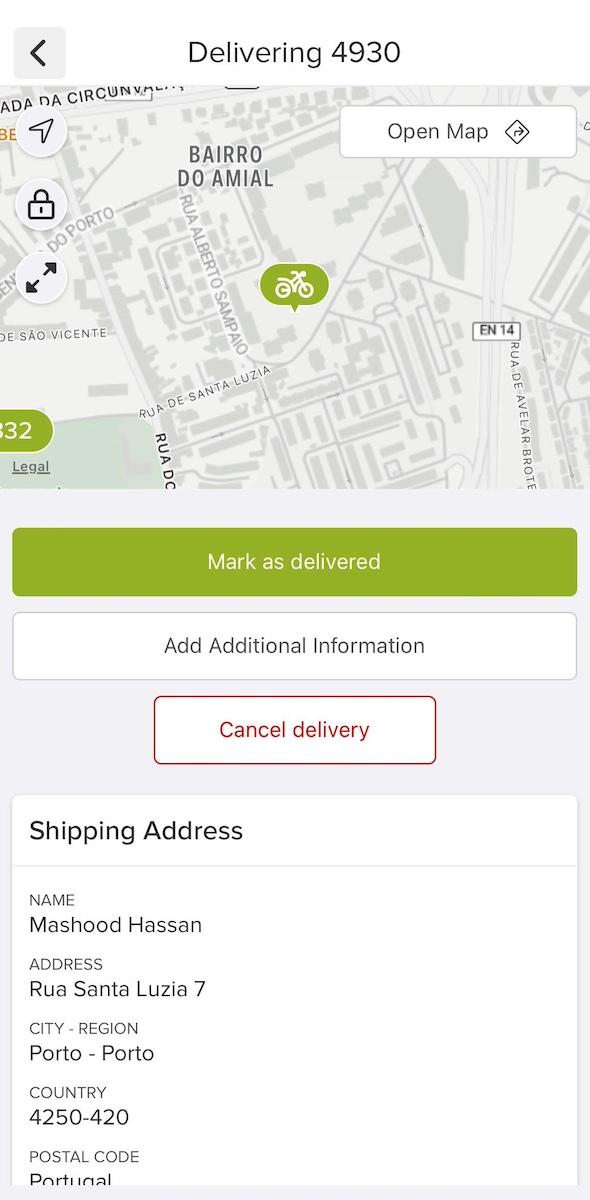
If you click on the ordercard, you will see more action buttons.
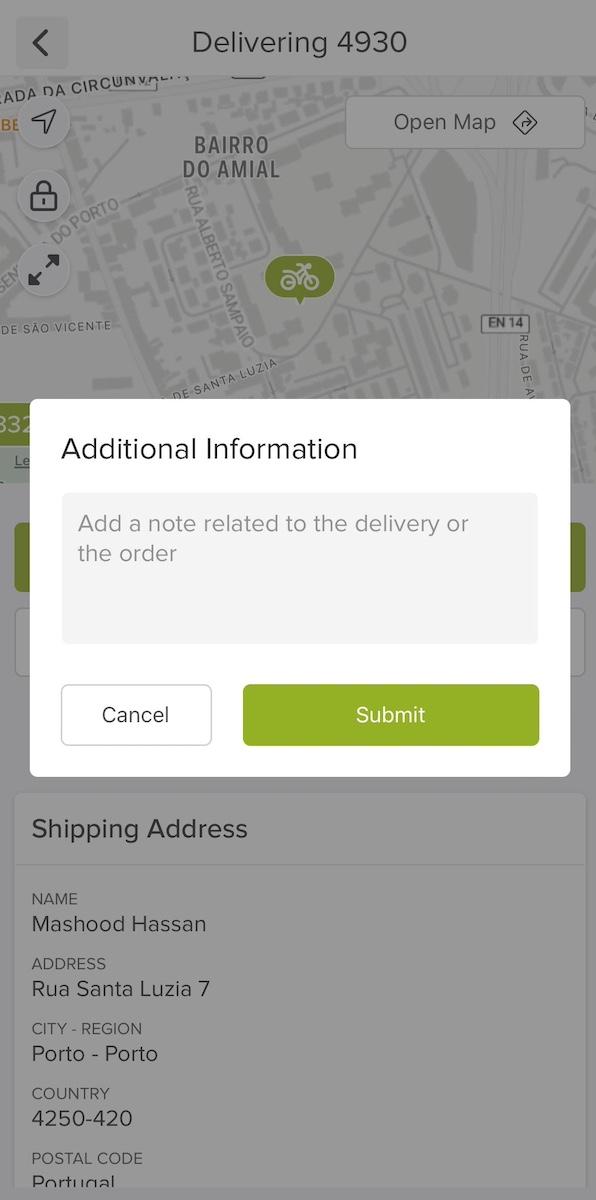
The courier can use the “Add Additional Information” button to open a text box to add any details about the delivery/product for the buyer and the merchant.
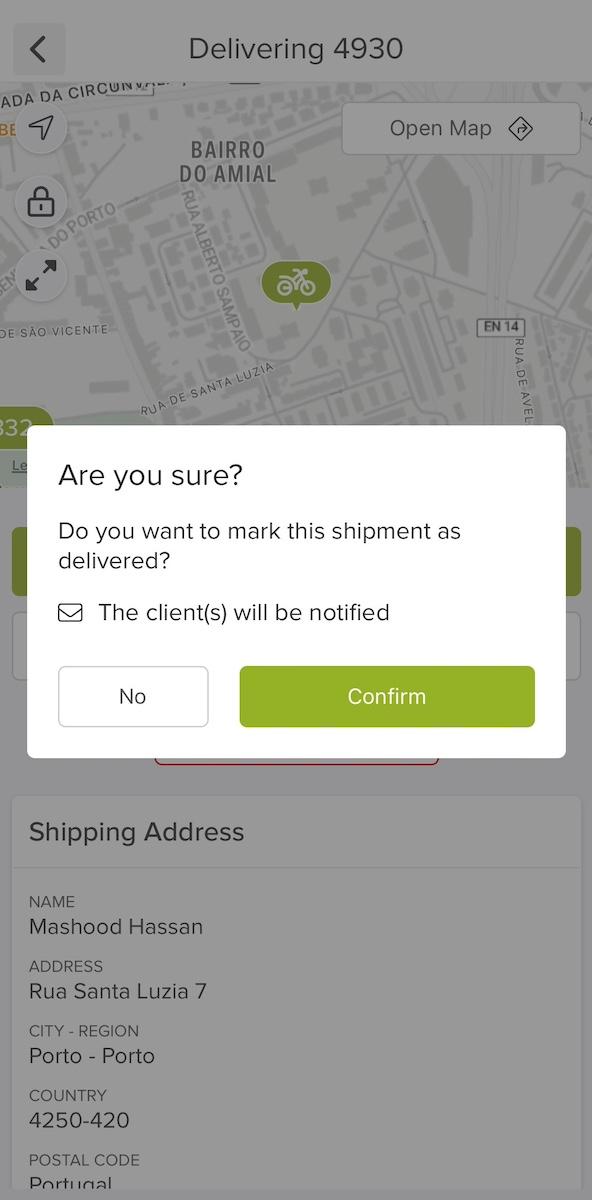
Two more action buttons are visibile here, if you click the “Mark as delivered” button, it will conclude the delivery process and notify the buyer.
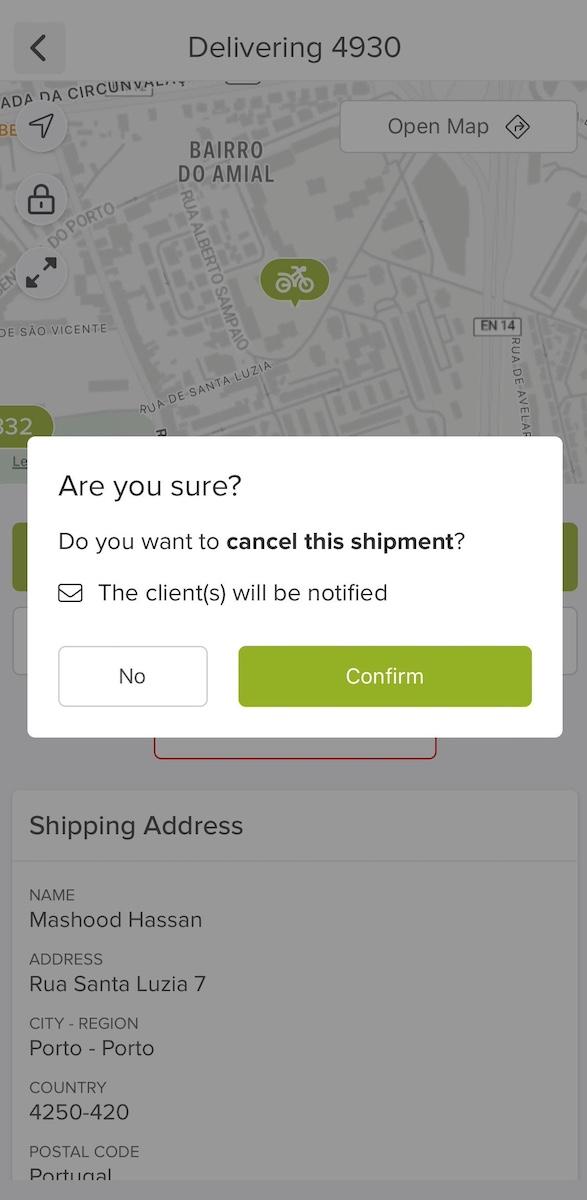
In the event that the delivery need to be stopped, just click the “Cancel delivery” button and than confirm.
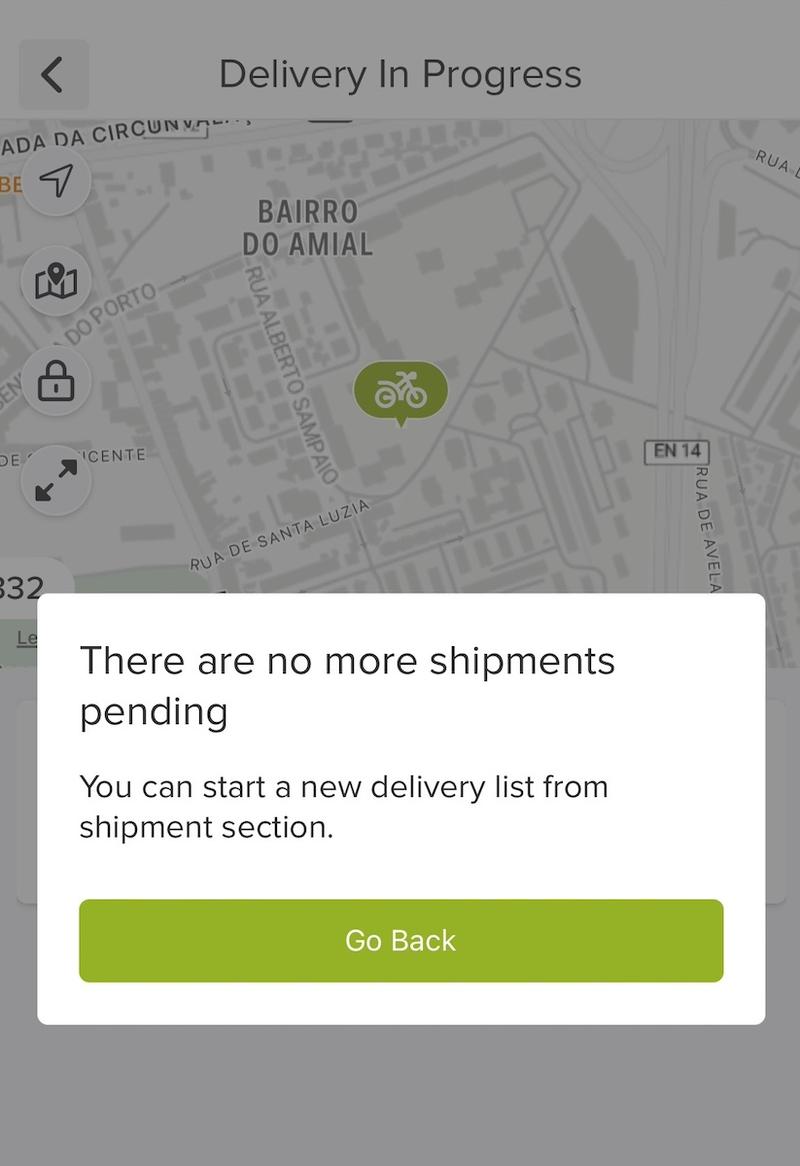
And if there are no further orders in the delivery list added the app will confirm this with a popup message.
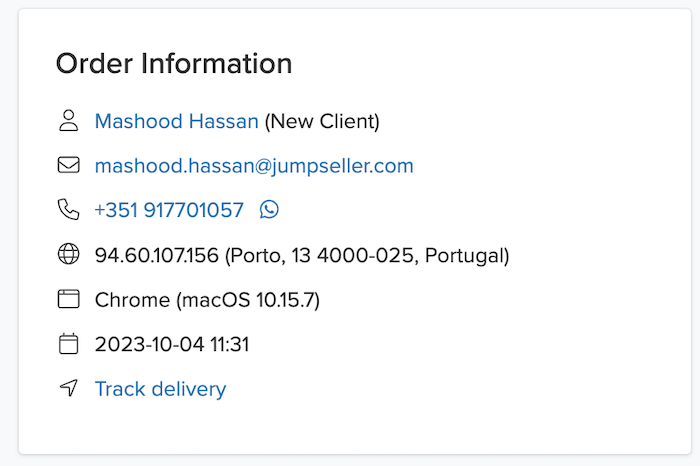
Once the courier starts the delivery, the merchant will have a button on the order’s screen that will lead them to the order success screen where they are able to check the order delivery.
The merchant will have access to Delivery History with the messages corresponding to each state of the delivery as well as messages sent by the courier to the customer. This can be accessed by going to the fulfillments list, clicking on the three dots and selecting the “Go To Fulfillment” option.

At the bottom of the fulfilment page, there will be the Delivery History. By passing the mouse above the user icon, the store owner can see who was the courier that made the delivery:

Note: If the courier cancels the delivery, a message will be shown to the client informing them that the courier cancelled it and that it is now awaiting to be picked up by another courier. When a new courier picks up the order, the messages shown to the client are reset.
In case your store doesn’t have an active shipping method that allows your clients to track orders, you can enable this feature manually by going to All orders and selecting the order you wish to enable GPS tracking for. Make sure the order is in preparation.

Click on Fulfill Order > Integrated Fulfillment.

Select the Own Fleet option to enable the live map.

From the App, click on the Plus sign at the bottom right of your screen.


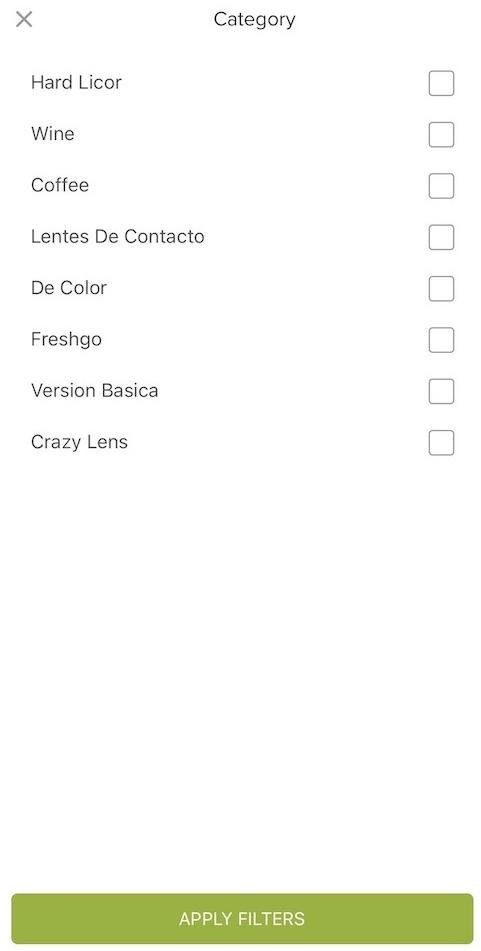

There is also the option to create a product using the Create Product button at the bottom of the screen.

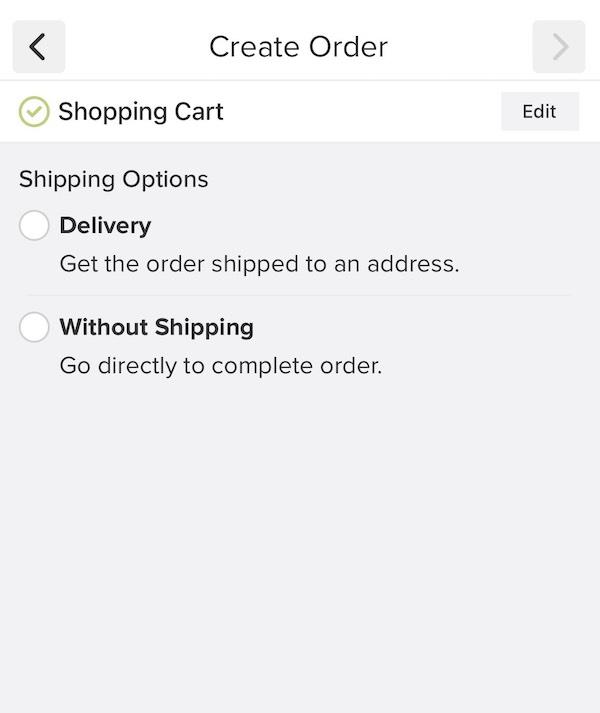
Once you have finished adding products to the cart, you can click on the Cart Button at the top right to continue. You will arrive at the shipping options screen.

Here, you can select Delivery if the order needs to be shipped to an address. Or select Without Shipping in case the order is being picked up.
You can Select a Contact from the list or you can click on the Add New Customer button located towards the bottom to create a new contact. After you have selected the contact, click on Continue.


Next, you will need to select a Shipping Price before you can proceed.

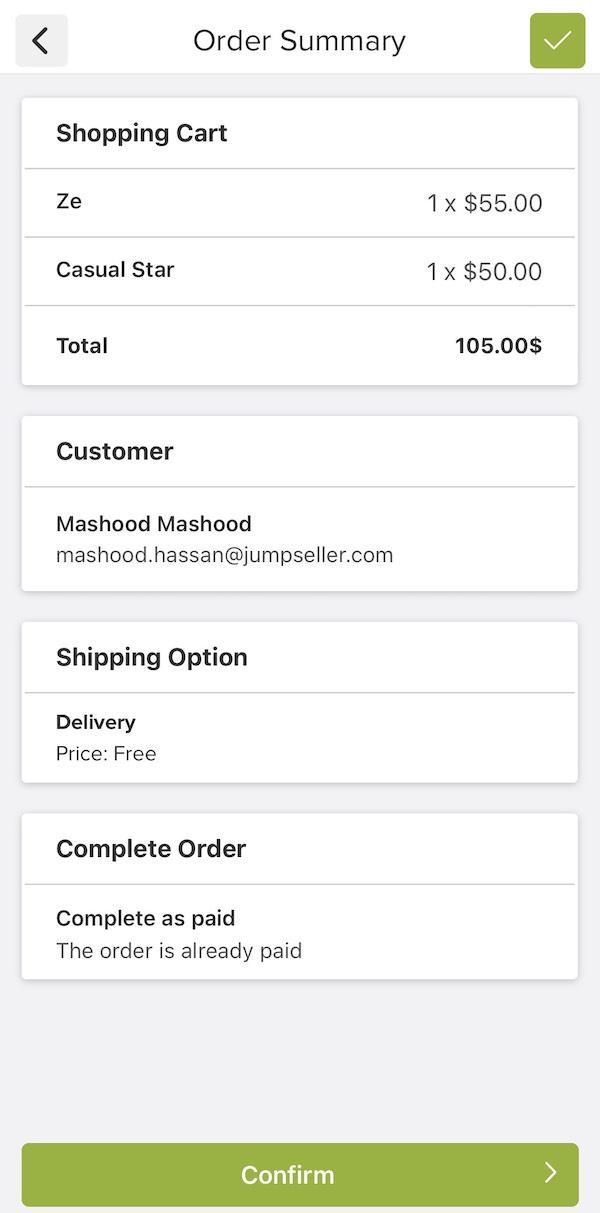
Lastly, you will see two options to finish the order creation, you can select Complete as paid if the customer has already made the payment or you can Send order link to the customer where they see the instructions to complete the transaction (in this case the order status will be set to “payment pending”).

After you click on the Review button, you will see a summary of the order created. Click Confirm to finish and you will see a confirmation message.

Note: If you are using the desktop version you can also use the “Manual Orders” feature to create new orders. You may also use this feature via the desktop version on your cell phone instead of using the app, if you prefer.
Start your free 7-day trial. No credit card required.