Adding Legal Pages To Your Website
Add legal pages like privacy policy, terms and conditions, and refund policy to build trust with your customers.
Using our CMS, it’s easy to create and manage pages. You should include information like “Shipping process” or “About Us”, as this helps build a stronger connection between consumers and the online store.
Jumpseller has enabled a general page creation section—examples include “Who we are?”, “Blog” or “Meet the Team”—as well as a Legal section for privacy policies, returns, and terms and conditions, which are required in
some countries.
In your Admin Panel, go to Pages and you’ll find two options: one to All Pages and another for Legal.
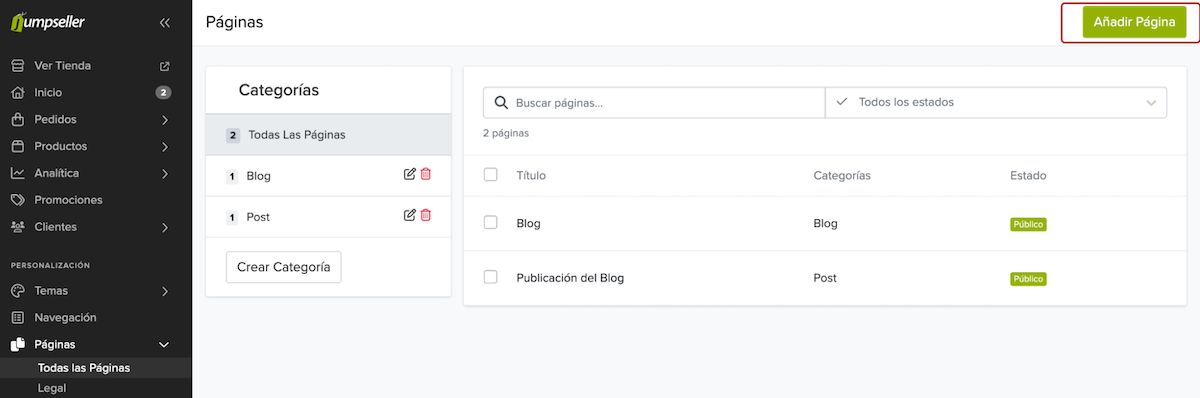
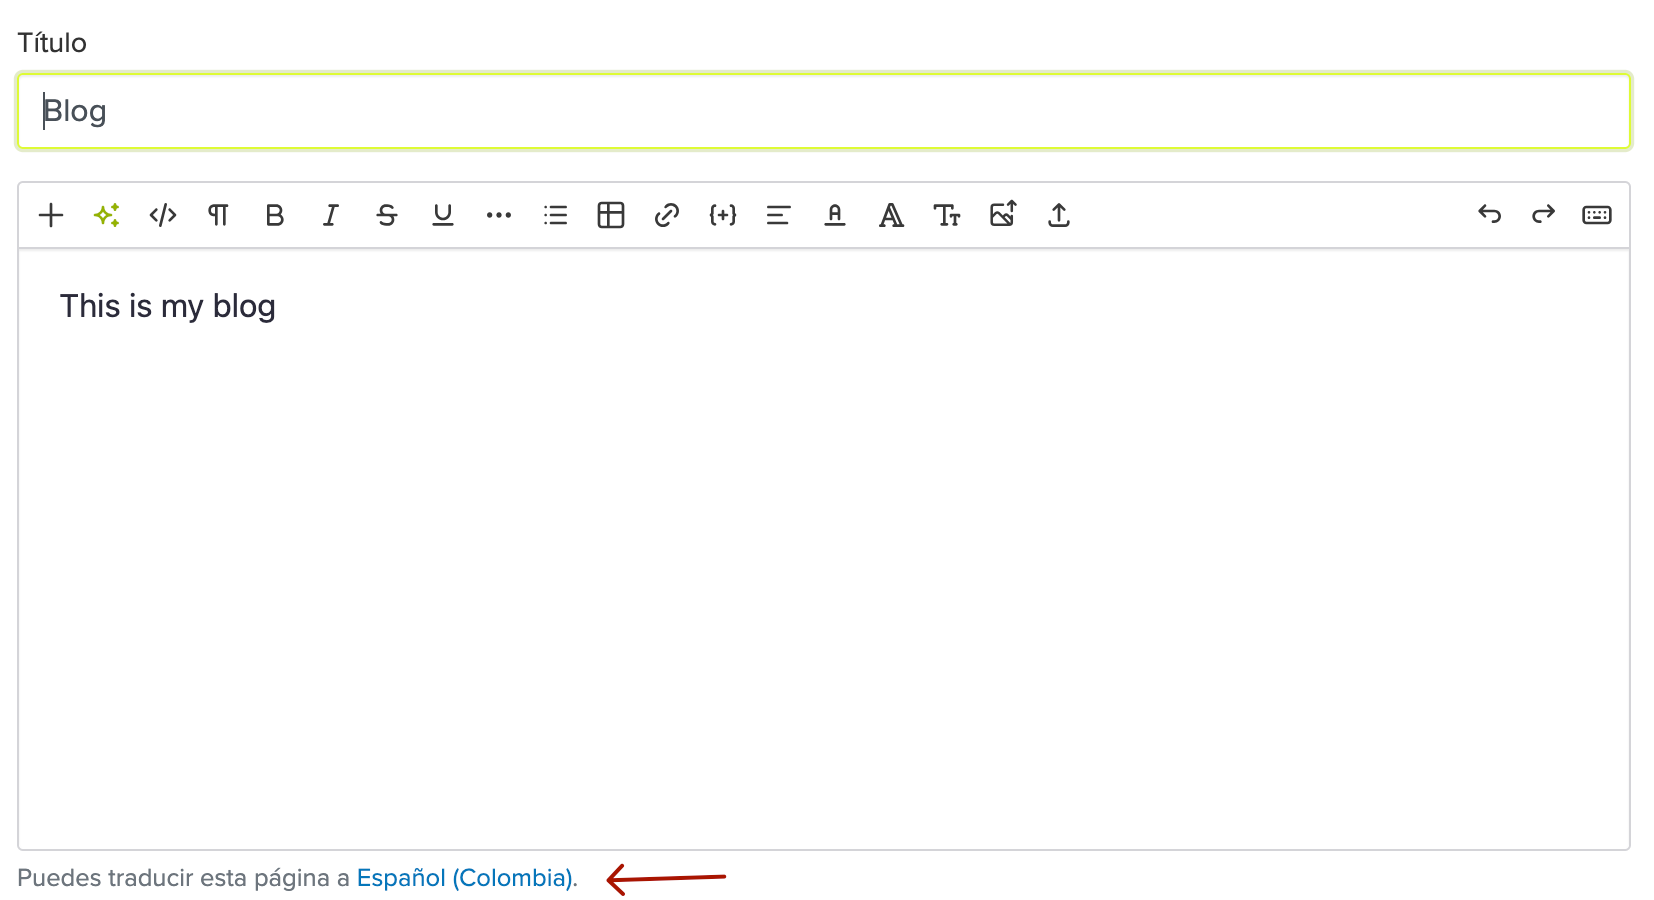
Once you click on “All Pages”, you’ll find a section that includes:
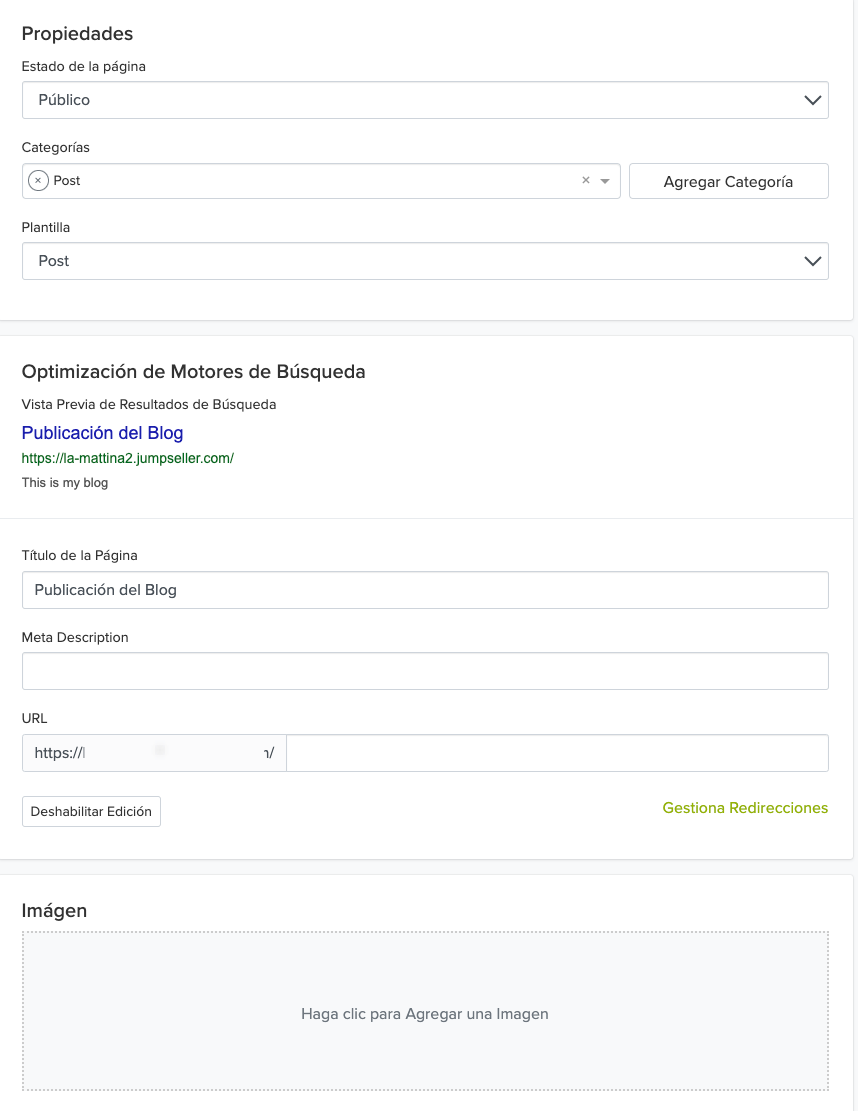
Theme: Say you’re creating a special promotions page. To use a specific image as a background for that page or in a sidebar, go to the “Theme Code Editor” and create a new page template (this means building a new HTML, CSS, etc., from scratch). Once saved in the code editor, it will appear in the template selector.
Note: You can also create a layout-less page by choosing “None” in the template selector. The content type of your page will depend on the page permalink. For example, the content type of .../page1.js will be application/javascript.
yourstore.jumpseller.com/pagetitle (e.g., 101solutions.jumpseller.com/blog). If you want to change it, just click the Edit button next to the permalink. store.com/product to redirect to store.com/product-1.Note: The page you are redirecting to must exist as a permalink for the relevant products / categories / pages. That’s what the selection on the right side shows when you open the modal.
It’s also important to mention that page categories are used by designers in custom templates to better organize content. For example, included in the “Company” menu with several links to related pages such as “About Us,” “Team,” and “Mission.” If you want to delete a page, go to the previous panel and click on the delete icon. You can also reorder the list of pages by simply dragging and dropping items—they are displayed in the order shown in the storefront.

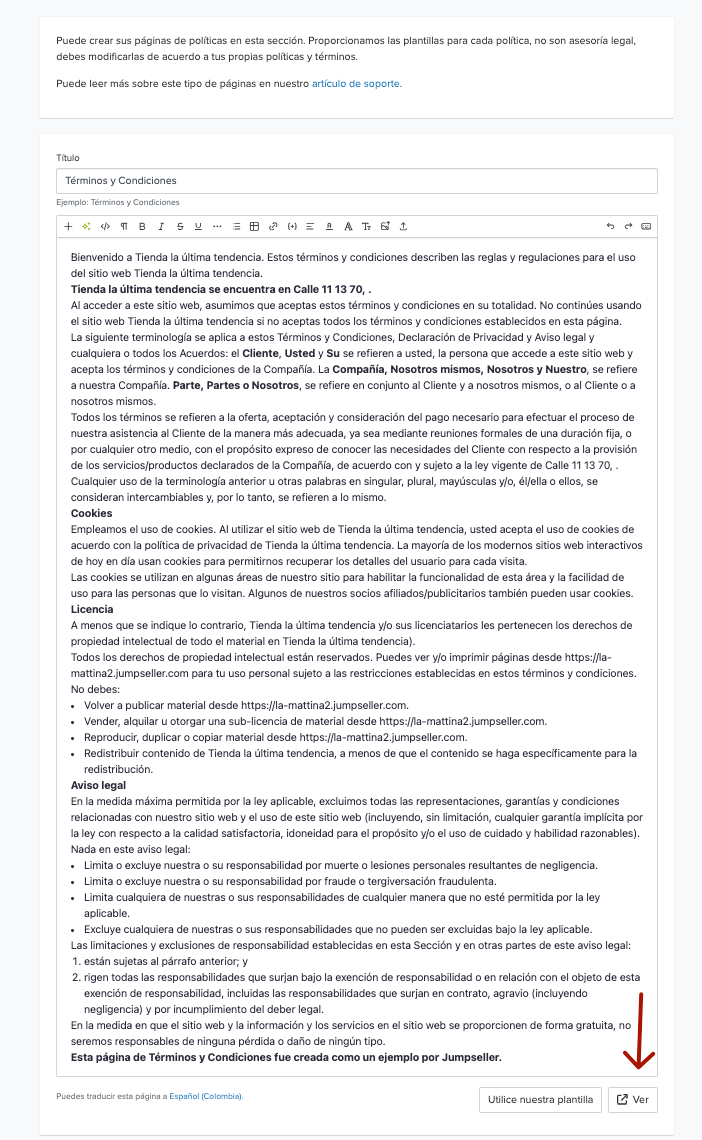
By clicking on the “Legal” section in your Admin Panel, you’ll find several pre-designed templates for legal documents.
It’s important to note that these templates do not constitute legal advice. We recommend adapting them according to the current regulations in your country, or replacing them with custom documents that suit your company’s legal needs.
We currently offer templates for:
You can edit them using the text box provided.
You can link these policies at different stages of the checkout process. To do so, follow these steps:
Go to your Admin Panel
Navigate to:
Settings > Checkout > Form > Custom Fields
"Shipping and Billing Address"
I accept the Terms and Conditions
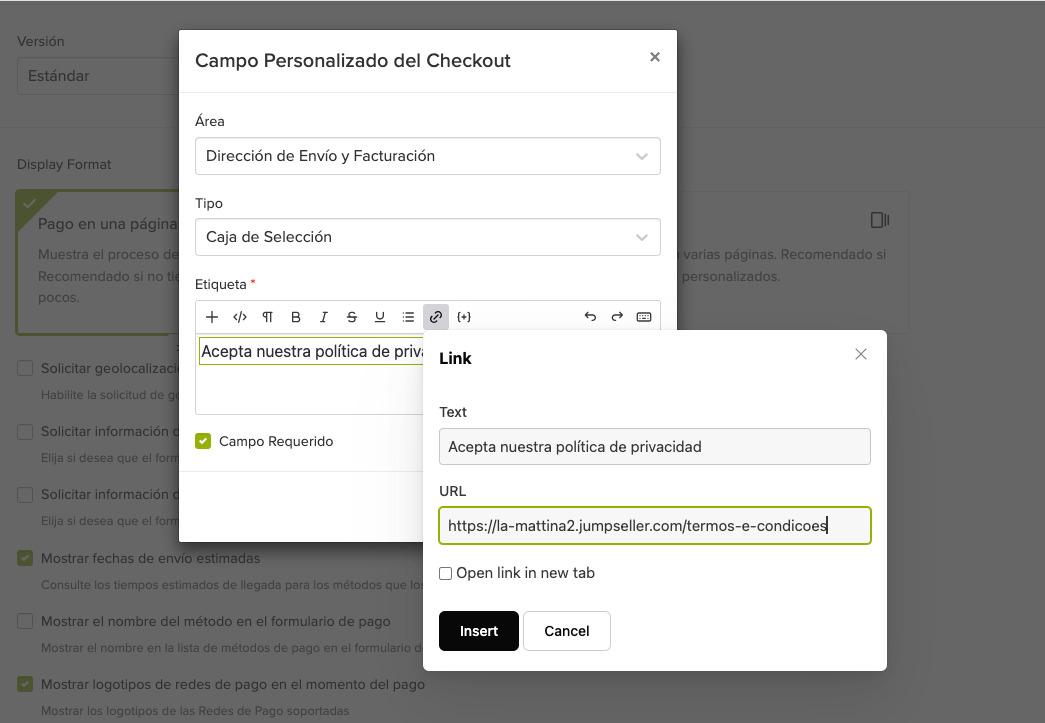
Your checkout will look something like this:

As you can see, it’s really easy to create and edit pages in Jumpseller. If you haven’t started yet, just try it and see how easy it is. If you have any other questions, feel free to contact us.
How can I create a Terms and Conditions page?
If you have any further question, please don’t hesitate to contact us.
Start your free 7-day trial. No credit card required.