Products Categories For Your Online Store
How would you like the products to be organized? Let us take you through the process of managing your catalog using our category listing features.
Note: This feature is only available to subscribers of the Premium plan and above.
Multi-Location Inventory is a feature that helps businesses track and manage their products across different storage areas or retail outlets from a centralized platform. It allows you to view inventory levels across all locations at a glance and automatically update stock levels when products are moved, sold, or returned.
Setting up your Multi-Location Inventory involves these simple steps:

Your default address will be marked as stock origin by default, but to use this feature you need to mark more locations. To unlock this feature, you need to be subscribed to plan premium or above.
You have two ways to change product stock:

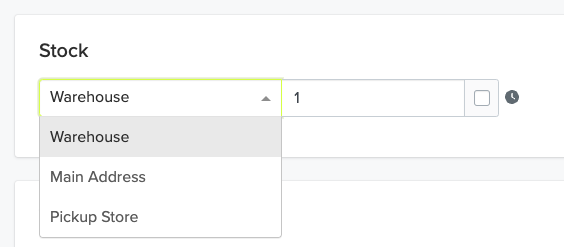

You can choose which stock is updated by default when an order is made in your store. To change this behavior, follow these steps:

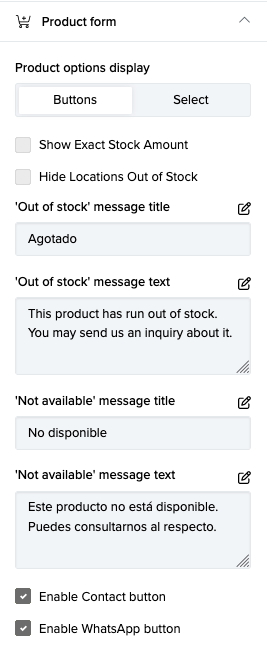
In your website it is possible to show the product’s stock availability per different location or the exact stock amount per location. You can also choose not to display the locations out of stock:

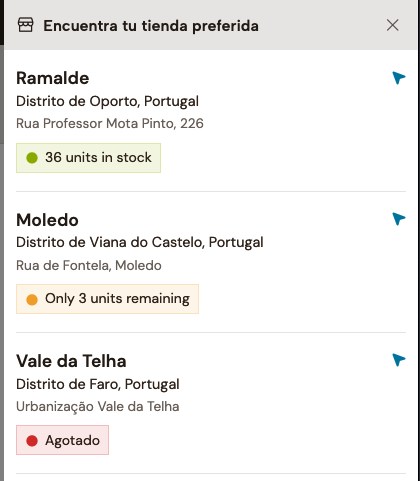
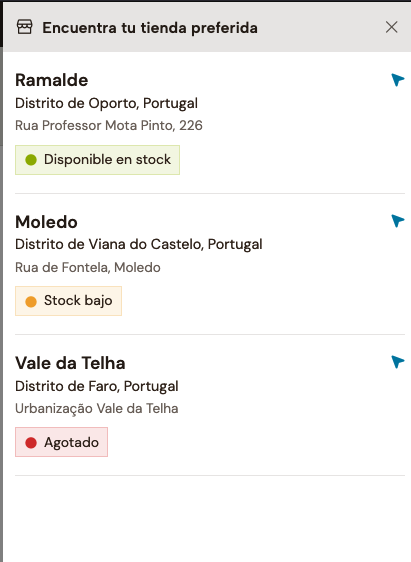
To change this behavior, follow these steps:
To simplify changing the stock of multiple products between multiple locations you can now use our csv system, for this you just need to export you inventory, change the stock in the csv file and import it back again. Lets see how you can do this:
In the nav bar, on the top right corner you can find 2 buttons, one for exporting and other for import, go ahead and click export.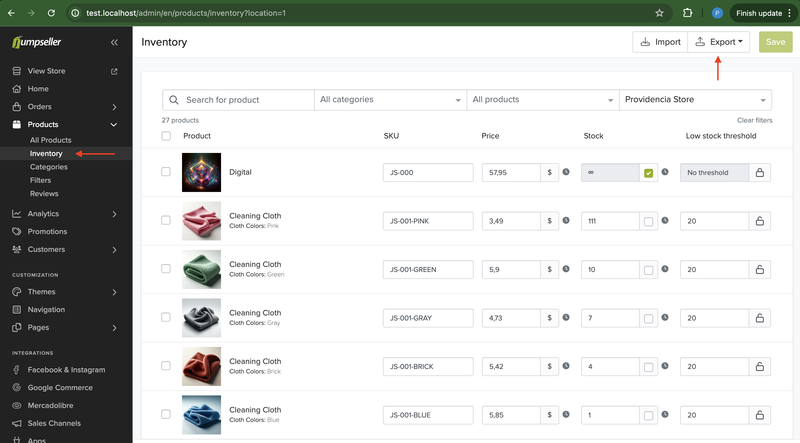
As you can see in the image bellow each line of the csv corresponds to one product or variant in your store, and in the columns we have Permalink, Product Name, Product Option Property followed by one columns for each of the locations in your store that hold stock. Unlike the products csv, the inventory csv only allows changes of stock, it does not allow for the creation of new products, nor the change of other products properties besides the stock value. For this reason the first three columns are used to identify the product and should be left unchanged. The stock values can all be changed. 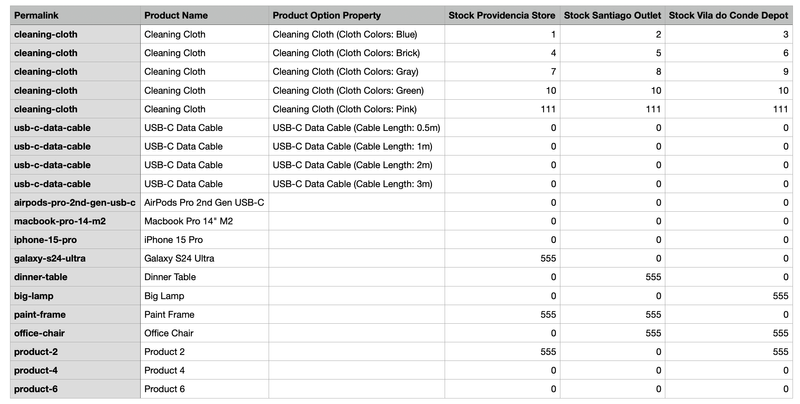
After you change the stock values you should save you file as a csv file with the same structure as the exported file. (This should be true if you only changed the stock values). If you are using Google sheets you can obtain this csv file by going to File -> Download -> Comma Separated Values(.cvs)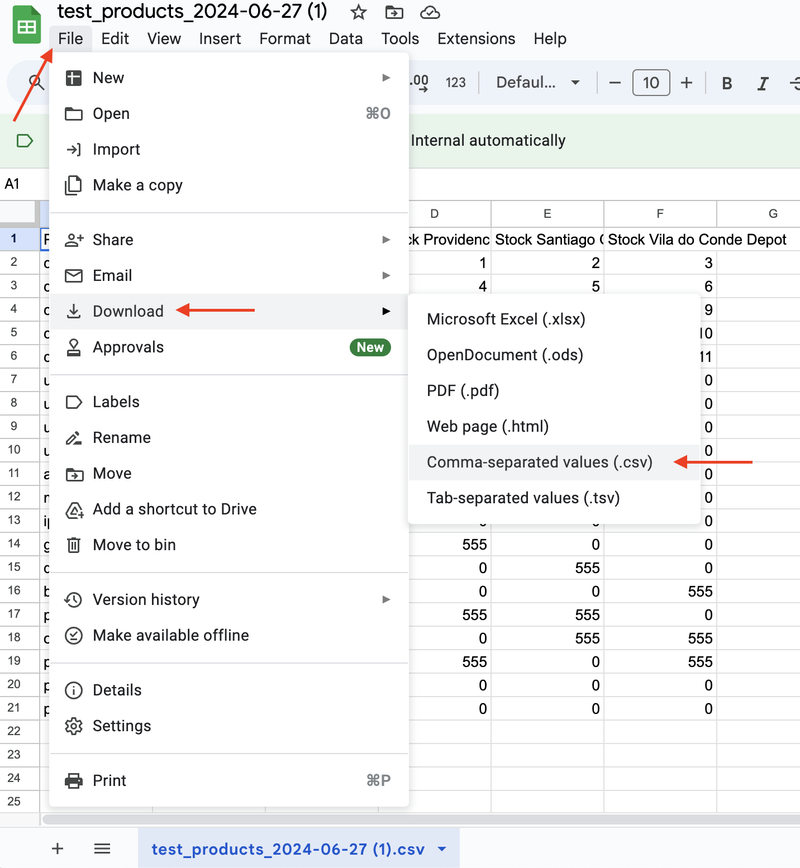
You can choose which location’s stock is updated by default when an order is made in your store. You can also set the priority order for updating the stock when an order’s shipping address does not match any shipping zone. This allows you to define which location will be used to fulfill orders based on the customer’s location. To change this behavior, follow these steps:
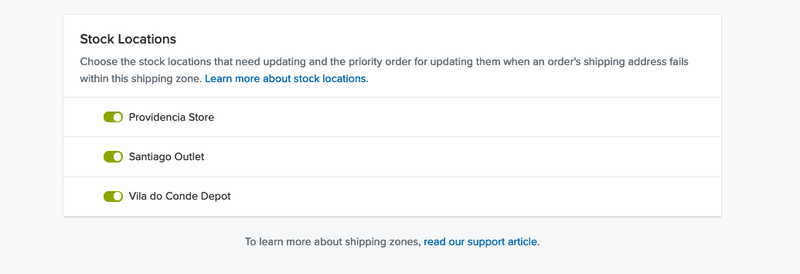
If the order is made to a location that does not have a shipping zone associated, priority order for updating the stock will be the one defined in the Locations section. To change these priorities, follow these steps:

The API documentation provides comprehensive details on managing stock locations for your online store. It includes endpoints for listing all stock locations, retrieving details of a specific stock location, creating new stock locations, updating existing ones, and deleting stock locations. Check the API documentation .
Free trial for 14 days. No credit card required.